
Custom embroidered caps and hats
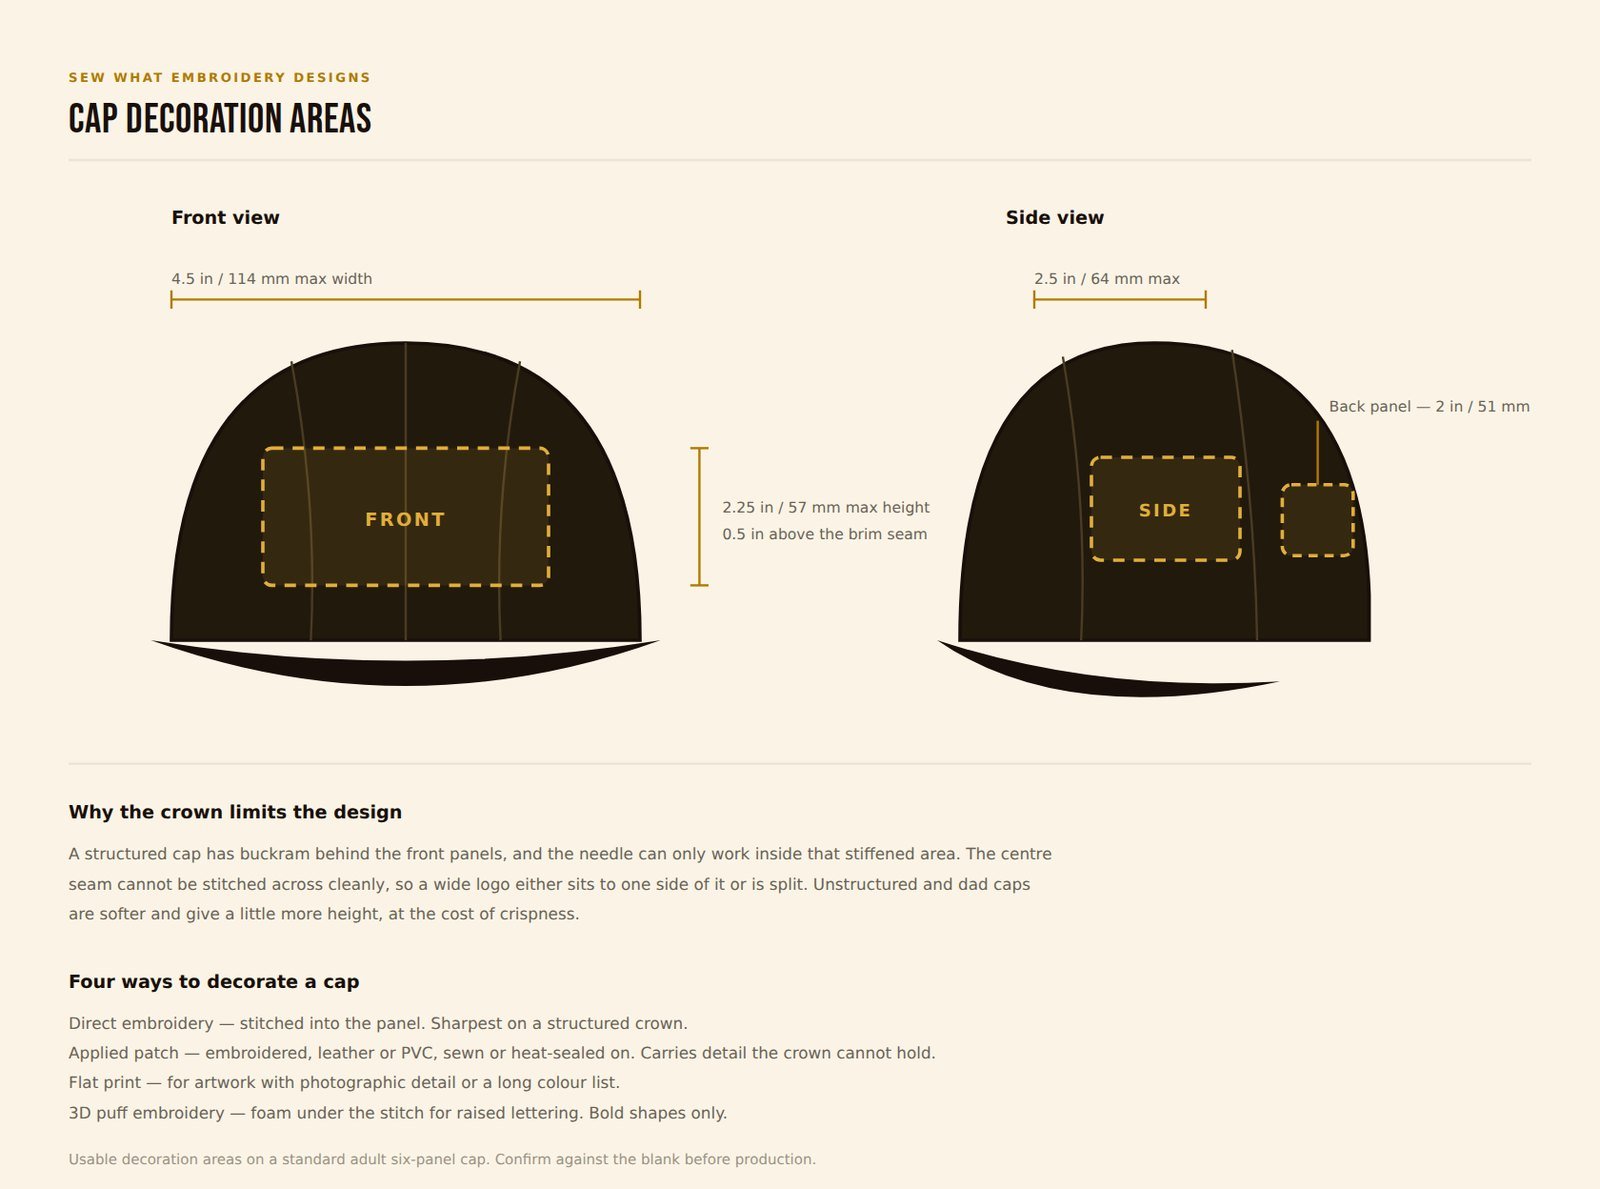
A custom embroidered cap is the most constrained garment we decorate. The usable area on the front panel is about four and a half inches across and a little over two inches tall, there is a seam down the middle of it, and behind that panel sits a layer of buckram that decides how crisply a needle can work. Almost every disappointing cap order comes from artwork drawn without knowing those three facts.
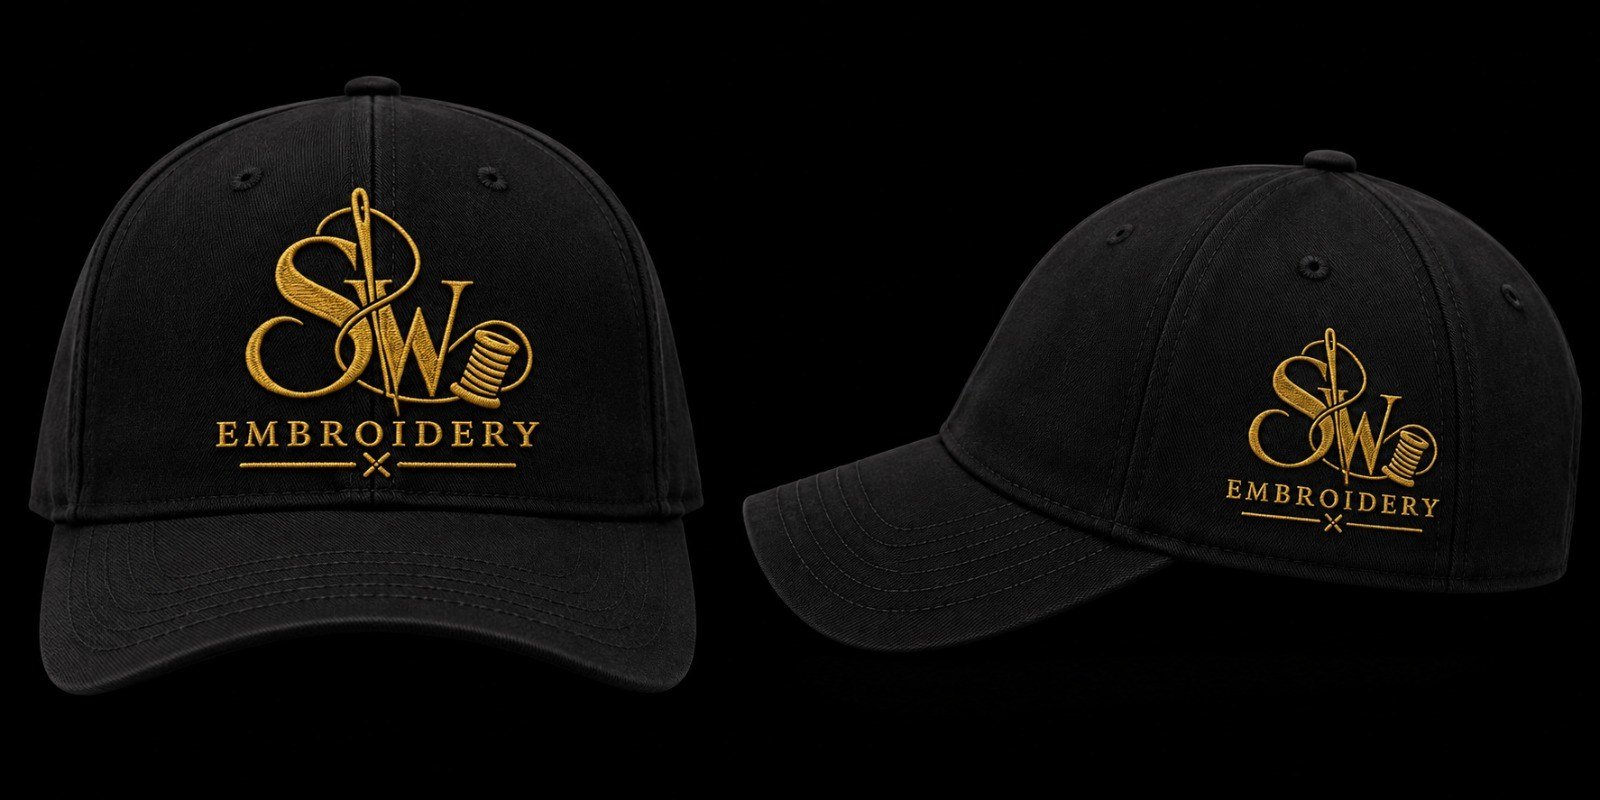
Custom patch hats
A patch hat is a cap with an embroidered, woven, leather or PVC patch sewn to the front instead of a design stitched straight into the panel. It is the most flexible way to decorate a cap: the patch can hold detail the crown cannot, it sits flat over the centre seam, and the same patch can go on caps, beanies and bags. We make the patch and fit it, so the hat arrives finished.
- Embroidered patch hats — the classic look for teams and brands. See custom hat patches.
- Leather patch hats — a debossed or laser-etched logo on a trucker or snapback. See custom leather patch hats.
- PVC patch hats — waterproof and 3D, for outdoor and tactical caps. See PVC patches.
- Patches for hats you already own — we supply loose patches with sew-on, iron-on or Velcro backing. Our guide on how to put a patch on a hat covers fitting.
Patches for hats: sewn, iron-on or Velcro
Patches for hats are fitted one of three ways, and the cap decides which. Sewing is the most durable and works on every style. Iron-on patches for hats carry a heat-seal backing, but they need a proper hat press: a household iron cannot put even pressure on a curved crown, so the patch lifts at the edges. Velcro (hook and loop) patches suit operator and tactical caps with a loop panel on the front.
| Cap | Sew-on | Iron-on (heat-seal) | Velcro |
|---|---|---|---|
| Structured snapback or fitted | Yes, most durable | Yes, with a hat press | Only with a loop panel |
| Trucker (foam front, mesh back) | Yes | Foam front only, never on mesh | Only with a loop panel |
| Dad cap (unstructured) | Yes | No, the soft front distorts under a press | No |
| Beanie or bucket hat | Yes | No, knit and soft cotton let it lift | No |
| Operator / tactical cap | Yes | Rarely | Yes, the standard choice |
Step-by-step methods for each are in putting patches on hats. You can order patches for hats loose with any of these backings, or have them applied to caps; heat-seal backings are covered on our iron-on patches page.
The usable areas
| Position | Maximum | Notes |
|---|---|---|
| Front panel | 4.5 in wide × 2.25 in tall | Sits about 0.5 in above the brim seam; the centre seam splits it |
| Side panel | 2.5 in wide | Left or right; often a secondary mark or a year |
| Back panel | 2 in wide | Above the closure. Small marks only |
| Brim | 2 in wide | Front edge or underside; needs a flat brim to sit properly |
| Bucket hat brim | 3 in wide | More room than a cap, and no crown seam |
Cap styles, and what each one takes
| Style | Crown | Decoration it suits |
|---|---|---|
| Structured snapback | Stiffened with buckram, high crown | Direct embroidery and 3D puff — the sharpest results |
| Trucker | Foam front, mesh back | Direct embroidery and applied patches; mesh takes nothing |
| Dad cap | Unstructured, soft, low profile | Direct embroidery at modest size; detail softens |
| Fitted | Structured, closed back | Direct embroidery; no back-panel closure to work around |
| Bucket hat | No crown panels | Brim and side embroidery, or an applied patch |
Four ways to decorate a cap
| Method | What it is | Best for |
|---|---|---|
| Direct embroidery | Stitched into the panel | Bold logos and lettering above about 5 mm |
| Applied patch | An embroidered, leather or PVC patch sewn or heat-sealed on | Detail the crown cannot hold; also the cheapest route to a premium look |
| Flat print | Printed onto the panel | Photographic artwork or a long colour list |
| 3D puff | Foam under the stitch, so lettering stands proud | Bold block letters and simple shapes only |
Specification
| Item | Standard |
|---|---|
| Styles | Snapback, trucker, dad, fitted, bucket, beanie |
| Decoration | Direct embroidery, applied patch, flat print, 3D puff |
| Colours | Nine standard thread colours; Pantone on request |
| Sampling | Sample approved before every bulk run |
| Pricing | Quoted on the blank, the quantity and the decoration |
| Lead time | 10–12 business days standard, 5–7 rush |
How do I order custom patch hats and embroidered caps?
- Send artwork. Any format — a logo file, a photo of an old patch, or a sketch on paper.
- Approve the proof. You get a digital proof with the size, colours and border marked. Nothing runs until you sign it off.
- Production. 10–12 business days as standard, 5–7 on a rush, at no extra charge.
- Tracked delivery. Shipped worldwide, to you or straight to your printer.
Common questions
My logo is wider than the front panel. What now?
Three options, in order of how well they usually work: redraw it stacked rather than wide; run it across the front and the two side panels as a set; or put it on a patch and let the patch overhang the seam. The proof will show you which one your artwork survives.
Can you embroider a mesh trucker back?
No. Mesh has no substrate to hold a stitch. A patch can be applied to the foam front, and the back stays plain. See custom patches for hats for sizes and patch styles that suit foam-front truckers.
What is 3D puff, and when should I avoid it?
Foam is laid under the stitching so lettering rises off the cap. It looks excellent on thick block letters and terrible on anything thin or detailed — the foam shows through and the edges go ragged.
Ready to quote your caps?
Tell us the cap style, the quantity and where the logo goes, and we will show you what fits inside the panel before anything is stitched.
Get a free quote
Send us your artwork, size and quantity for custom patch hats and embroidered caps and we will come back with a price and a free digital proof. Nothing goes into production until you approve the proof, and shipping is free worldwide.
Related reading
- Patch placement guides — measured positions, including cap front and side
- Custom embroidered patches — for detail the crown cannot hold
- Leather patches — the classic cap-back patch
- Which fabrics take an iron-on patch — why a cap crown is stitched rather than pressed
- What is a hook-and-loop patch — swapping patches on the same cap
- Custom Velcro patches — for caps that carry a loop panel on the front
- Custom hat patches
- Heat press patches
- How to put a patch on a hat